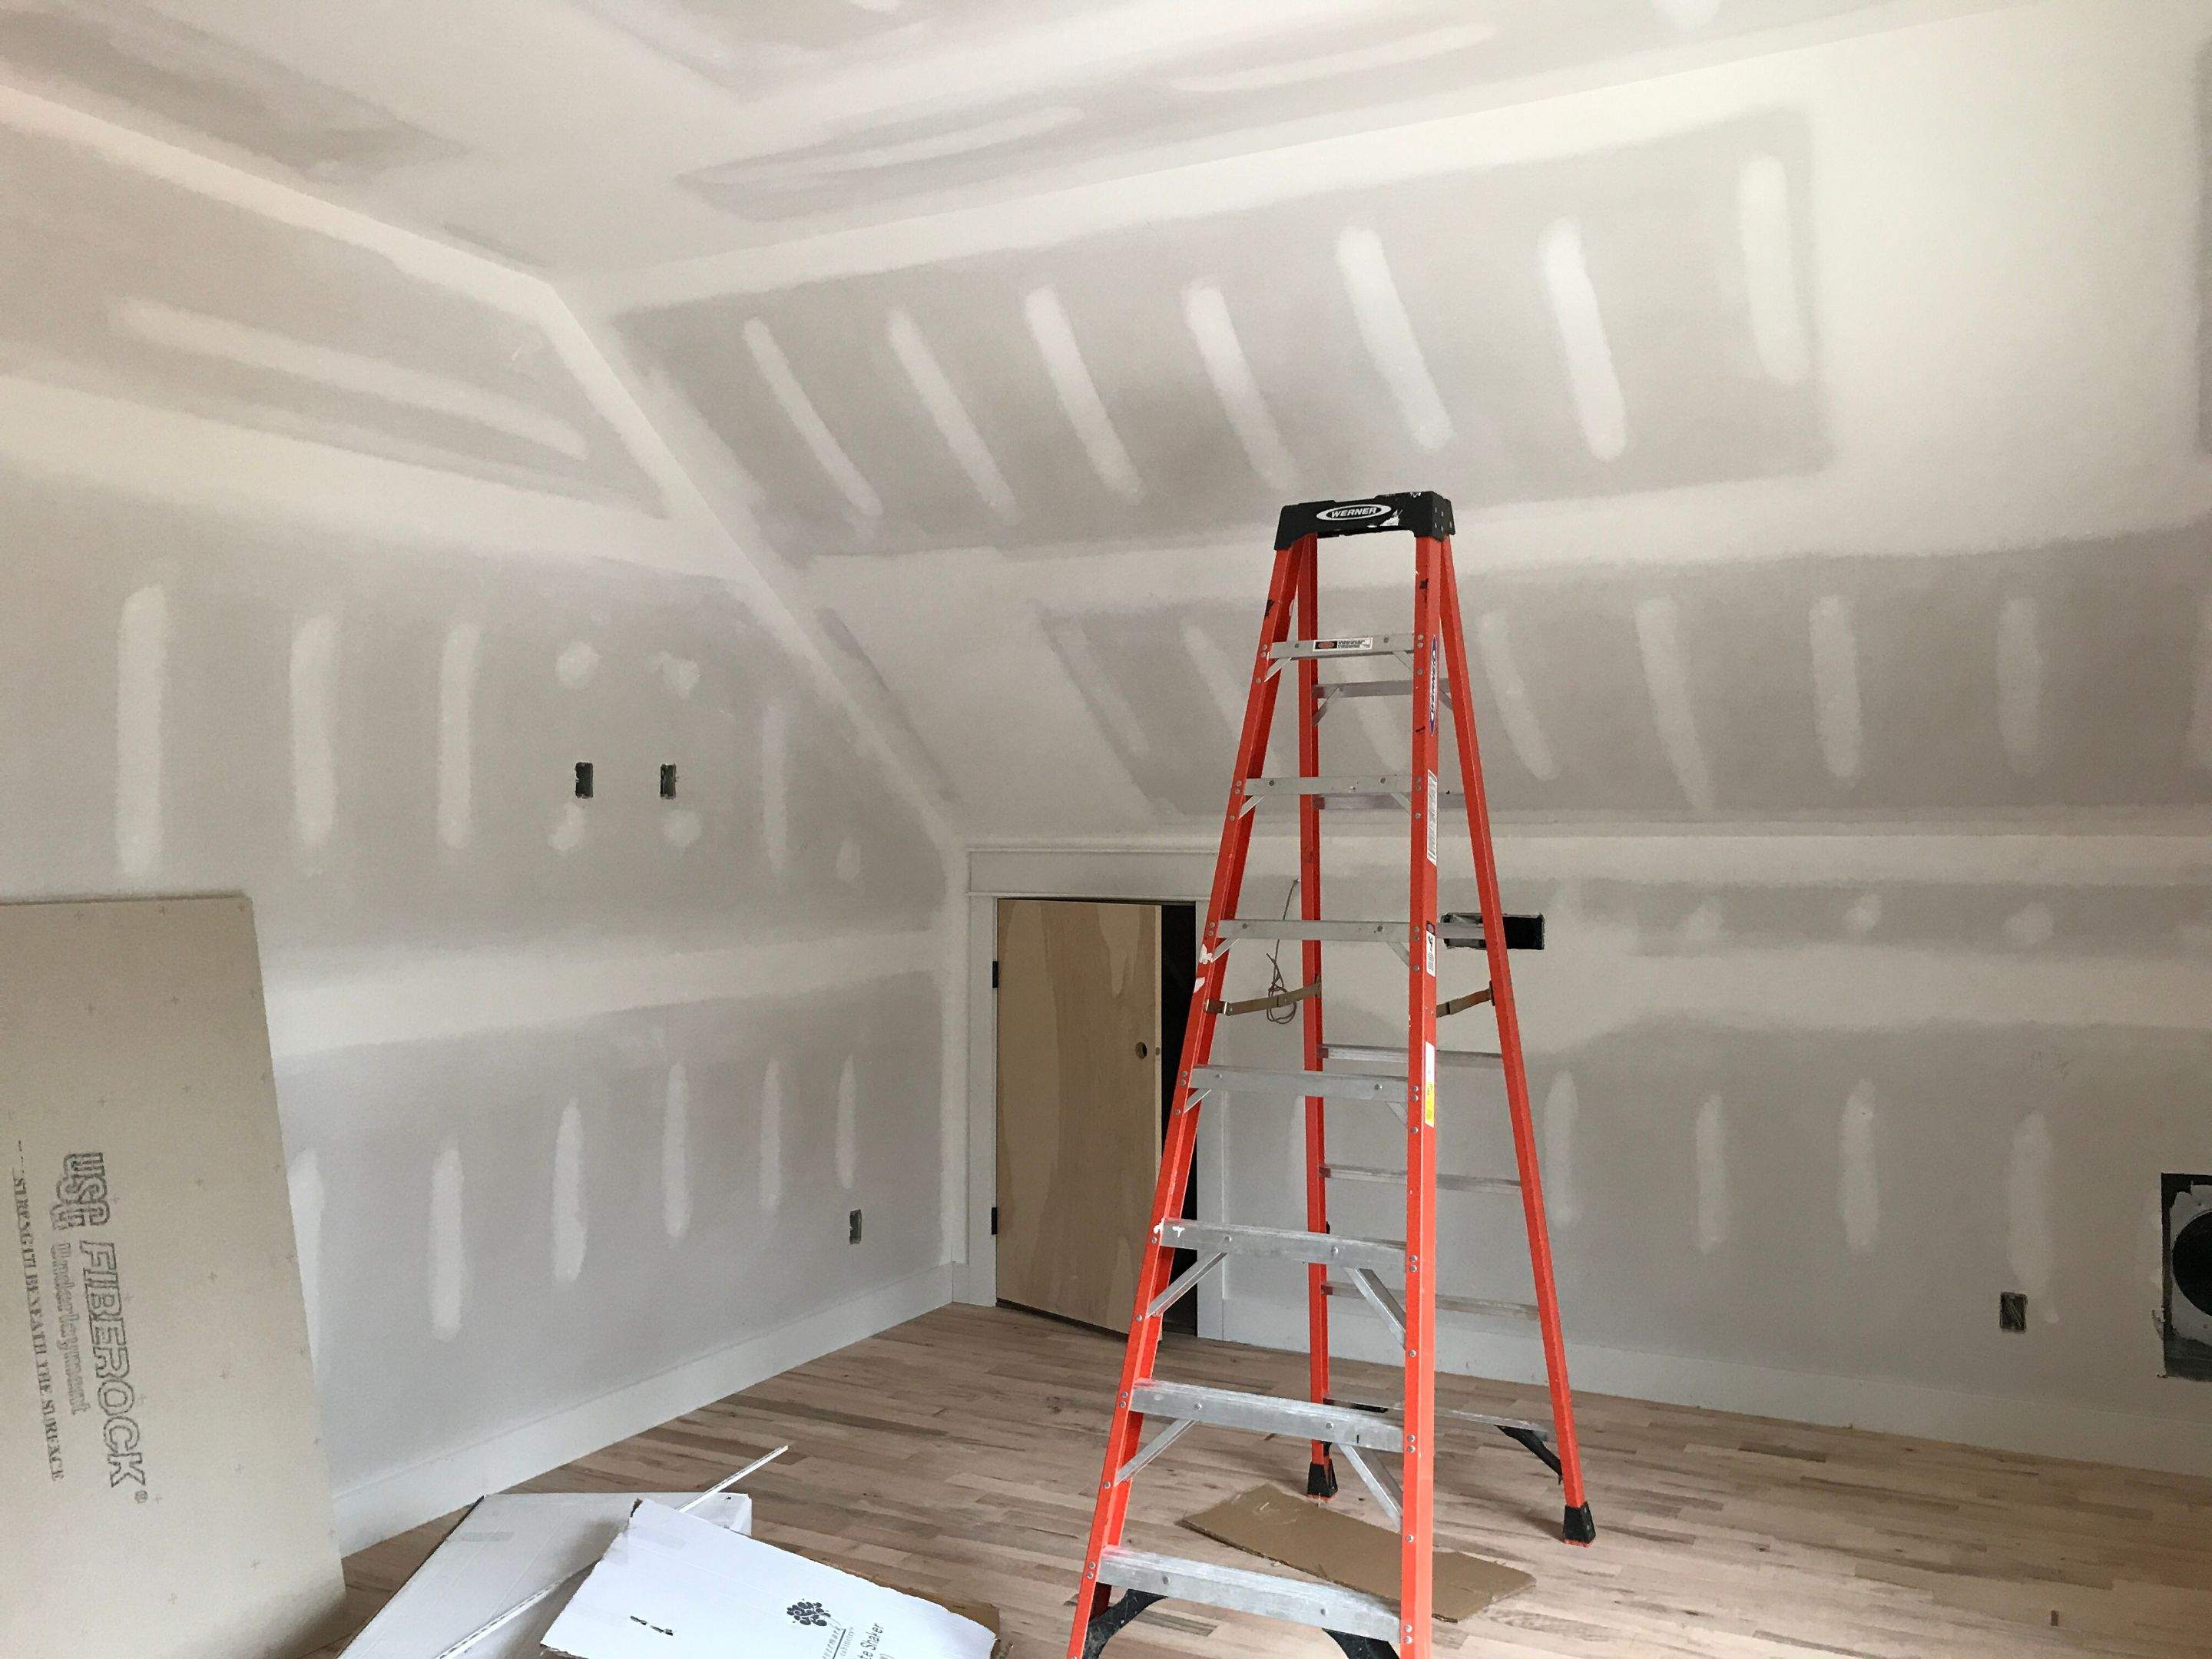
Sand Before Painting

The Importance of Sanding Before Painting: Techniques, Tools, and Safety

Sanding before painting is a crucial step in achieving a smooth, professional finish on any surface. Proper preparation ensures the paint adheres well and lasts longer. This article will explore the purpose of sanding before painting, the tools and techniques involved, the types of grit used, and the safety measures to take. By understanding these elements, you can ensure your painting project is successful and long-lasting.
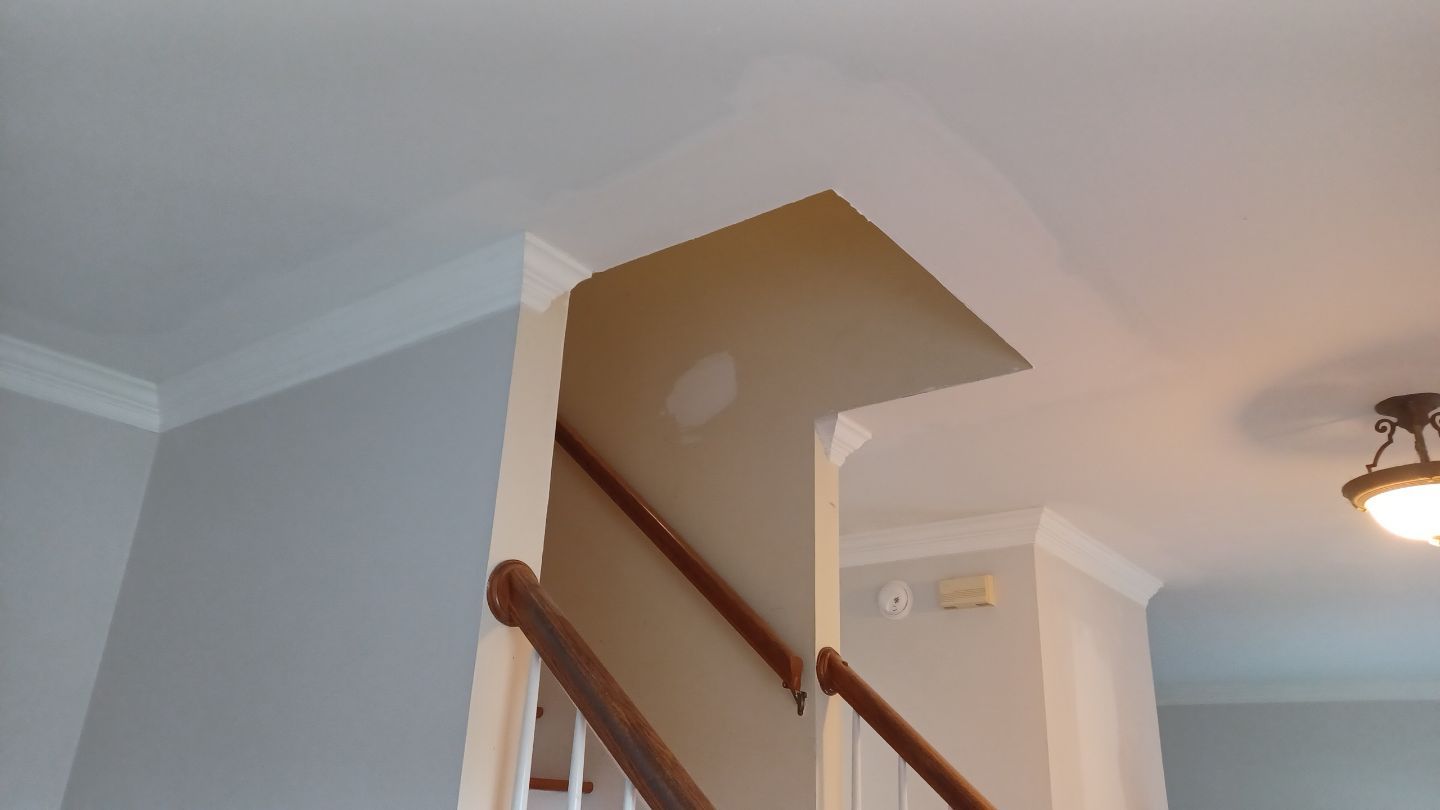
  • Purpose of Sanding Before Painting. Sanding before painting serves several important purposes. Firstly, it smooths out any imperfections on the surface, such as bumps, scratches, or old paint layers. This creates a clean, even surface for the new paint to adhere to. Secondly, sanding helps to remove any glossy finishes on the old paint, which can prevent the new paint from sticking properly. Thirdly, it opens up the pores of the surface, especially in wood, allowing the paint to penetrate better and provide a more durable finish. What happens if you don't sand before painting? The paint may not adhere properly, leading to peeling, chipping, and a less durable finish.
  • Tools for Sanding Before Painting. Using the right tools for sanding before painting is essential for achieving the best results. The most common tools include sandpaper and sanding blocks. Sandpaper comes in various grits, from coarse to fine, allowing you to choose the appropriate level of abrasiveness for your project. Sanding blocks, on the other hand, provide a more even sanding surface and are easier to hold and maneuver than sandpaper alone.

    Sandpaper: Available in a range of grits, sandpaper is versatile and can be used for both rough and fine sanding. Coarse grits (40-60) are used for removing old paint or rough surfaces, while medium grits (80-120) are suitable for smoothing out minor imperfections. Fine grits (150-220) are ideal for final smoothing before painting.

    Sanding Blocks: These are useful for achieving a flat, even sanding surface. They can be used with sandpaper wrapped around them or come with built-in abrasive surfaces. Sanding blocks are especially helpful for sanding large, flat areas.

    Electric Sanders: For larger projects, electric sanders, such as orbital or belt sanders, can save time and effort. They provide consistent, even sanding and are suitable for both rough and fine sanding tasks.
  • Techniques for Sanding Before Painting. There are two main techniques for sanding before painting: dry sanding and wet sanding. Each technique has its advantages and is suited to different types of projects.

    Dry Sanding: This is the most common sanding technique and involves using sandpaper or sanding blocks without any added moisture. Dry sanding is suitable for most surfaces and is effective for removing old paint, smoothing out rough patches, and preparing surfaces for a new coat of paint. It is important to sand in a circular motion to avoid creating scratches or uneven areas.

    Wet Sanding: Wet sanding involves using sandpaper that has been soaked in water or a sanding lubricant. This technique is often used for fine sanding and achieving a very smooth finish. Wet sanding helps to reduce dust and can create a more polished surface. It is especially useful for sanding between coats of paint or varnish.
  • Grit Types for Sanding Before Painting. The type of grit used for sanding before painting depends on the surface and the level of smoothness required. Grit types range from coarse to fine, and each serves a specific purpose.

    Coarse Grit (40-60): This grit type is used for heavy sanding and removing old paint or varnish. It is also suitable for smoothing out very rough surfaces or shaping wood.

    Medium Grit (80-120): Medium grit sandpaper is ideal for general sanding tasks. It can be used to smooth out minor imperfections, remove light paint or varnish layers, and prepare surfaces for painting.

    Medium Grit (80-120): Medium grit sandpaper is ideal for general sanding tasks. It can be used to smooth out minor imperfections, remove light paint or varnish layers, and prepare surfaces for painting.
  • Safety Measures for Sanding Before Painting. Sanding before painting can generate a significant amount of dust and debris, which can be harmful if inhaled or if it comes into contact with your skin. Therefore, it is important to follow safety measures to protect yourself during the sanding process.

    Dust Mask: Always wear a dust mask or respirator to prevent inhaling dust particles. This is especially important when sanding old paint that may contain lead or other harmful substances.

    Ventilation: Ensure the area where you are sanding is well-ventilated. Open windows and doors to allow fresh air to circulate and use fans to help remove dust from the air.

    Safety Glasses: Protect your eyes from dust and debris by wearing safety glasses or goggles. This is particularly important when sanding overhead or in confined spaces.

    Gloves: Wear gloves to protect your hands from abrasions and to provide a better grip on the sandpaper or sanding tools.

    Protective Clothing: Wear long sleeves and pants to protect your skin from dust and debris. Consider using a disposable coverall for larger projects.

    In summary, sanding is essential for surface preparation, ensuring a professional and lasting paint job.
Sand Before Painting

Additional Tips and Techniques for Sanding Before Painting

Proper sanding before painting is essential for a professional finish. This section will delve deeper into the techniques, tools, and safety measures, ensuring you get the most out of your painting project. Using the right methods and understanding the tools can significantly impact the quality of your results. Here, we will cover more advanced sanding techniques, common mistakes to avoid, and detailed safety measures.


Common Mistakes to Avoid

Even experienced DIYers can make mistakes when sanding before painting. Avoiding these common errors can help you achieve a better finish and save time in the long run.

Skipping Grit Levels: It's important to gradually progress through the grit levels rather than jumping from a coarse to a fine grit. Skipping levels can leave scratches or uneven spots that are difficult to smooth out later.

Over-Sanding: While sanding is essential, over-sanding can damage the surface. For example, over-sanding wood can lead to uneven surfaces or remove too much material, weakening the structure. Be mindful of how much material you are removing.

Ignoring Safety Measures:
Sanding can produce a lot of dust and debris, which can be harmful if inhaled or if it gets into your eyes. Always use proper safety gear, including dust masks, safety glasses, and gloves, and ensure your workspace is well-ventilated.


Advanced Sanding Techniques

Beyond the basic techniques, advanced sanding methods can help you achieve an even better finish. These methods include sanding between coats, using different sanding tools, and applying specialized techniques for various surfaces.

Sanding Between Coats: Sanding between coats of paint or primer is crucial for a smooth, professional finish. Use fine grit sandpaper (150-220) to lightly sand the surface once the first coat has dried. This step removes any imperfections or dust particles that may have settled on the wet paint. Ensure the surface is clean before applying the next coat to avoid trapping any debris.

Using Electric Sanders: For large surfaces or projects, electric sanders such as orbital or belt sanders can save time and effort. These tools provide consistent sanding and are excellent for both initial rough sanding and fine finishing. When using an electric sander, move it in even, overlapping strokes to avoid creating grooves or uneven spots.

Specialized Techniques for Various Surfaces: Different surfaces require specific sanding techniques. For instance, when sanding wood, always follow the grain to prevent scratches. For metal surfaces, use a fine grit sandpaper to avoid removing too much material and compromising the integrity of the surface.


Detailed Safety Measures

Safety is paramount when sanding before painting. Proper precautions can prevent health issues and ensure a safe working environment.

Always wear a dust mask or respirator to protect your lungs from inhaling dust particles. This is especially important when sanding old paint that may contain harmful substances like lead.

Ensure your workspace is well-ventilated. Open windows and doors, and use fans to circulate air and remove dust. If you are working indoors, consider using a dust extraction system to minimize airborne particles.

Protect your eyes from dust and debris by wearing safety glasses or goggles. This is crucial when sanding overhead or working with materials that produce a lot of fine dust.

Wear gloves to protect your hands from abrasions and to provide a better grip on the sanding tools. Long sleeves and pants can protect your skin from dust and debris. For larger projects, a disposable coverall can offer added protection.

Frequently Asked Questions

Do I need to sand before painting?

Yes, sanding before painting is essential to create a smooth surface and ensure the paint adheres properly.

Do you need to sand before painting furniture?

Yes, sanding furniture before painting helps to remove old finishes and creates a better surface for the new paint to adhere to.

Should you sand primer before painting?

Yes, you should sand primer before painting creates a smoother surface and helps the paint adhere better.

What grit to sand wood before painting?

Use medium grit (80-120) for general sanding and fine grit (150-220) for final smoothing before painting.

Is higher grit sandpaper rougher?

No, higher grit sandpaper is finer and less abrasive, creating a smoother finish.

Sanding before painting is a vital step in achieving a smooth and long-lasting finish. Understanding the purpose of sanding, using the right tools and techniques, choosing the appropriate grit, and following safety measures will ensure your painting project is successful. By taking the time to properly prepare your surface, you can achieve professional results that will stand the test of time.

By following these advanced techniques, avoiding common mistakes, and adhering to detailed safety measures, you can ensure your sanding before painting process is thorough and effective. Proper sanding is essential for a high-quality, durable paint job that stands the test of time. Whether you're working on walls, furniture, or metal surfaces, the right approach to sanding will make a significant difference in the final result.